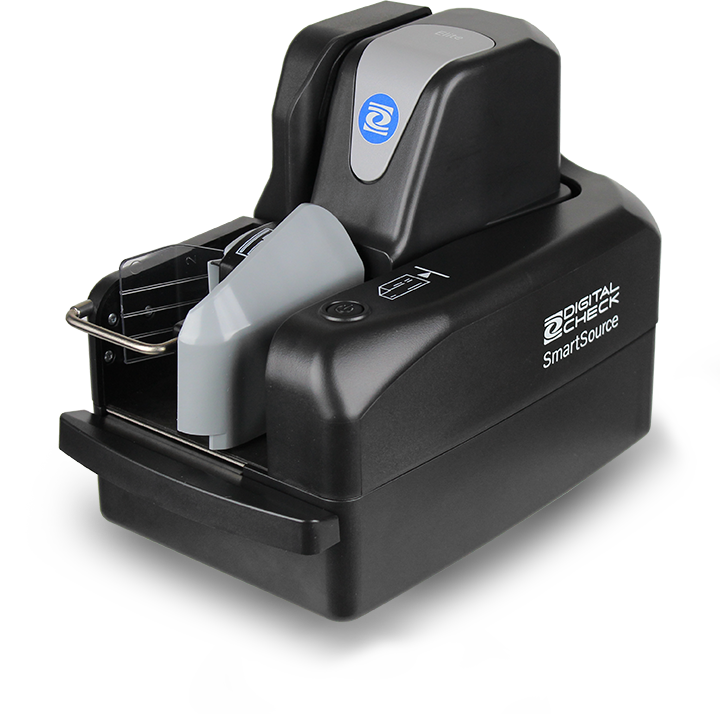
![]() USB Mode
USB Mode
Step 1: Connect the Power Cord.
Step 2: Turn the power on without connecting any of the other cables.
Scanner will be in USB mode.
Step 1
| Step 2
|
![]() Ethernet Mode
Ethernet Mode
Step 1: Connect the Power Cord AND an Ethernet cable.
Step 2: Turn the power on.
*Must be a “live” cable connected to the network!
**This enables both Ethernet and Ethernet-over-USB mode, connect the Ethernet cable for subsequent use.
Step 1
| Step 2
|
![]() ETH over USB
ETH over USB
*If you have a live Ethernet cable, skip this and follow the “Network Mode — Ethernet” instructions above. This will enable both Ethernet and Ethernet-over-USB operation. If you do NOT have a live Ethernet cable, proceed as follows:
Step 1: Connect the power cord ONLY.
Step 2: Turn the power on. This will configure the scanner to USB mode.
Step 3: Use the SimpleSwitch function to switch to network mode (see below).
Step 4: Plug in the USB cable and power on the scanner to use Ethernet over USB.
Step 1
| Step 2
| Step 3
| Step 4
|
Step 1: Press the power button and hold for several seconds.
Step 2: Wait until you hear an audible “chirp.”
Step 3: Continue holding the button for several more seconds.
Step 4: Wait for a second chirp.
This process takes about 10 seconds. The scanner will power off and will restart next time in the opposite connection mode.
 |  | | |